
Stockings for Soldiers
This year, I've been lucky to participate in my work's effort for Stockings to Soldiers. This effort consists of many individual and groups of sewers making simple Christmas stockings and sending them off where the stockings will be stuffed with goodies and then sent off to troops overseas.
This is the first year that I've participated, but I've already heard past stories of how much our troops enjoyed the holiday gifts. Being so far away from home during the holidays must be easier knowing that citizens back home are grateful and thinking of the dedication our soldiers commit each day.

The sewing of the stocking is very easy, and at the Operation Shoebox site, you can find PDF files for patterns. Yet, I think the one we use at my work is very easy to duplicate. The stocking requires two stocking cut-outs from holiday fabric and a sash for the top. Also, a ribbon about two inches in length will be attached during the final sewing.

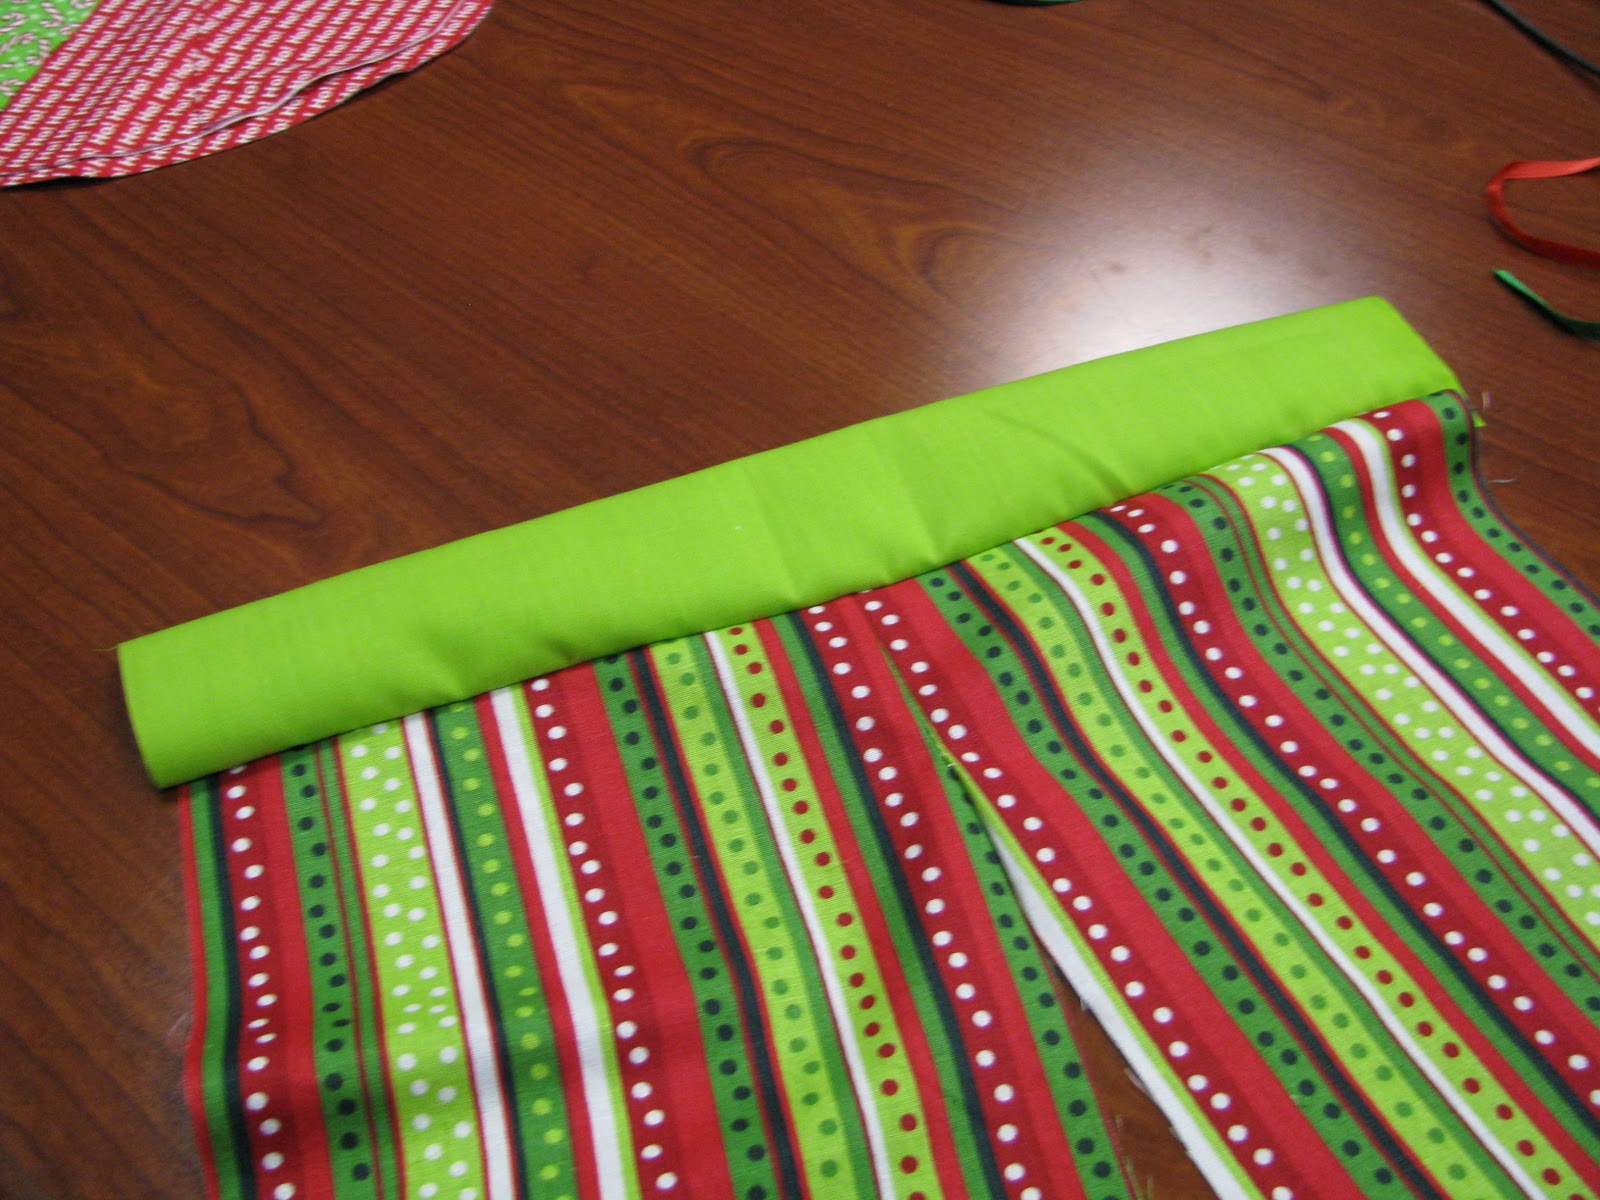
The top of the right sides of stocking fabric (the sides where the "boot" curves out) first needs to be sewn together, about two inches in length. Then, the sash is folded in half and sewn on, cut edges along along the tops of the stockings.

The sash is folded up in preparation for stocking completion - see, that simple and quick!


Then, sew around the entire pattern, back stitching at the beginning and end of sewing.


Cut slits in the curves of the stocking so that when you flip it inside-out the curves flip neatly. Iron it flat and make some more. For each stocking you make and send, there will be a very appreciate soldier stationed somewhere in our big world, knowing he or she is remembered during the holiday. How special is that? If you're interested in helping, too, you can email the organization at troops@operationshoebox.com .

This is the first year that I've participated, but I've already heard past stories of how much our troops enjoyed the holiday gifts. Being so far away from home during the holidays must be easier knowing that citizens back home are grateful and thinking of the dedication our soldiers commit each day.

The sewing of the stocking is very easy, and at the Operation Shoebox site, you can find PDF files for patterns. Yet, I think the one we use at my work is very easy to duplicate. The stocking requires two stocking cut-outs from holiday fabric and a sash for the top. Also, a ribbon about two inches in length will be attached during the final sewing.

The top of the right sides of stocking fabric (the sides where the "boot" curves out) first needs to be sewn together, about two inches in length. Then, the sash is folded in half and sewn on, cut edges along along the tops of the stockings.

The sash is folded up in preparation for stocking completion - see, that simple and quick!
Bring the right sides of the stocking together (with the sash up) and pin to keep the shapes in place with another. At the sash's cut side, pin the ribbon (as shown) so that the ribbon will be attached upon sewing completion.

Then, sew around the entire pattern, back stitching at the beginning and end of sewing.


Cut slits in the curves of the stocking so that when you flip it inside-out the curves flip neatly. Iron it flat and make some more. For each stocking you make and send, there will be a very appreciate soldier stationed somewhere in our big world, knowing he or she is remembered during the holiday. How special is that? If you're interested in helping, too, you can email the organization at troops@operationshoebox.com .

Quilted Coasters for Fall
In preparation for a dinner party at my house, I whipped up five fall coasters to accompany the coffee table (where after dinner drinks would most likely be placed). This quick project is so easy and the full tutorial can be found at Sew We Quilt.

I used a paper square to place over chosen graphics on the scarecrow fabric. I chose some scarecrows and pumpkins. I pinned the paper to the fabric and cut around. Those became my center pieces.

I like this project because the quilted coasters are turned inside-out and then quilted, as opposed to quilting and then having to put on binding. For next time, when I am sewing the pieces together (before turning inside out) the opening left open will be on the longest strip's side (the 1.5 x 4.5 side). When I was turning the coasters inside out, before quilting and sewing up open edge, because I left a seam side open, the seams broke open a bit. I'll do that part differently next time.

This is so easy, I'll probably make a Christmas batch of coasters and some for spring. Also, this is a really quick and nice housewarming gift.
Pumpkin Pie Croissants
My at-work sewing bee is tomorrow night, and I signed up to bring desserts. I chose to make some mini-pumpkin pie croissants and I'm glad that I did. They are little, tasty, and I think they'll be just enough for an early evening dessert. I've included the picture from the blog where I found this recipe, because it's much better than mine.
Original blog picture:
 My picture:

I didn't do the entire recipe, I halfed every ingredient. I used only one container of cresent rolls and that make 16 croissants. That's a fine number for the small group of ladies I'll share with tomorrow night. The original recipe calls for two cans of croissants, which would make 32.
1 can of Pillsbury croissants
Roll out and cut each croissant in half, lengthwise. For each one (before the filling) press it out to widen it.
Croissant filling:
1/4 block of cream cheese
1/2 cup of pumpkin (not pumpkin pie filling)
3/4 tsp. pumpkin pie spice
1 1/2 tbsp. sugar
Mix all in a bowl with a whisk or use a motorized mixer. Make sure all is completely mixed together and smooth. Put about one tablespoon of filling in the center of each halfed croissant and spread lengthswise. If there's too much, keep that in the middle. Roll up each starting at the end that is the widest. Roll each croissant in the sugar topping (ingredients below).
Sugar topping:
2 tbsp. sugar
1/2 tbsp. pumpkin pie spice
Roll each croissant in the sugar topping, place on baking sheet (covered with parchment paper) and bake at 375 degrees for about 15 minutes. Keep watch and check the bottoms of the croissants for burning (you don't want them burnt).

I did try one croissant and it was tasty. I think next time I can put more of the pumpkin mixture inside the croissants (I had a lot left over). I hope my sewing ladies enjoy.
Original blog picture:


I didn't do the entire recipe, I halfed every ingredient. I used only one container of cresent rolls and that make 16 croissants. That's a fine number for the small group of ladies I'll share with tomorrow night. The original recipe calls for two cans of croissants, which would make 32.
1 can of Pillsbury croissants
Roll out and cut each croissant in half, lengthwise. For each one (before the filling) press it out to widen it.
Croissant filling:
1/4 block of cream cheese
1/2 cup of pumpkin (not pumpkin pie filling)
3/4 tsp. pumpkin pie spice
1 1/2 tbsp. sugar
Mix all in a bowl with a whisk or use a motorized mixer. Make sure all is completely mixed together and smooth. Put about one tablespoon of filling in the center of each halfed croissant and spread lengthswise. If there's too much, keep that in the middle. Roll up each starting at the end that is the widest. Roll each croissant in the sugar topping (ingredients below).
Sugar topping:
2 tbsp. sugar
1/2 tbsp. pumpkin pie spice
Roll each croissant in the sugar topping, place on baking sheet (covered with parchment paper) and bake at 375 degrees for about 15 minutes. Keep watch and check the bottoms of the croissants for burning (you don't want them burnt).

The last time I baked with croissants, no one ate the snacks because the bottoms of each croissant were burnt. I Google-investigated and read that I could put a sheet of parchment paper on the cookie tray to prevent burning from happening. Many of you master cooks probably knew that, but I did not. Happily, the parchment paper worked and I have crisp bottoms - no burning.
Subscribe to:
Posts (Atom)