Oh, how I love Pinterest. Let me count the ways - 41 boards, 599 pins, 133 likes. I held off of joining Pinterest, but I'm so happy that I finally did. There are so many great ideas, recipes, crafts, and organization tricks. Like this one from DIY Home Sweet Home. Use a big clip (I don't know what they are called...) to hold the end of a phone charger, and clip it to the place where the cell phone can lay.
Remember to unplug your charger when finished or the charger will continue to pull energy - this is a bit of savings on your power bill.
Showing posts with label organization. Show all posts
Coloring Pack
I have a cute niece who loves to color, so I wanted to make her something for Christmas that would hold all of her coloring supplies - crayons, pencil, coloring book. This little girl and her parents travel quite a bit and I thought that a case, of sorts, would be easy to put into a bag, into the backseat, etc. Inspired (and feeling confident) after making many marker rolls, I expanded upon that idea with Dilly Baby's Marker Wallet as inspiration.
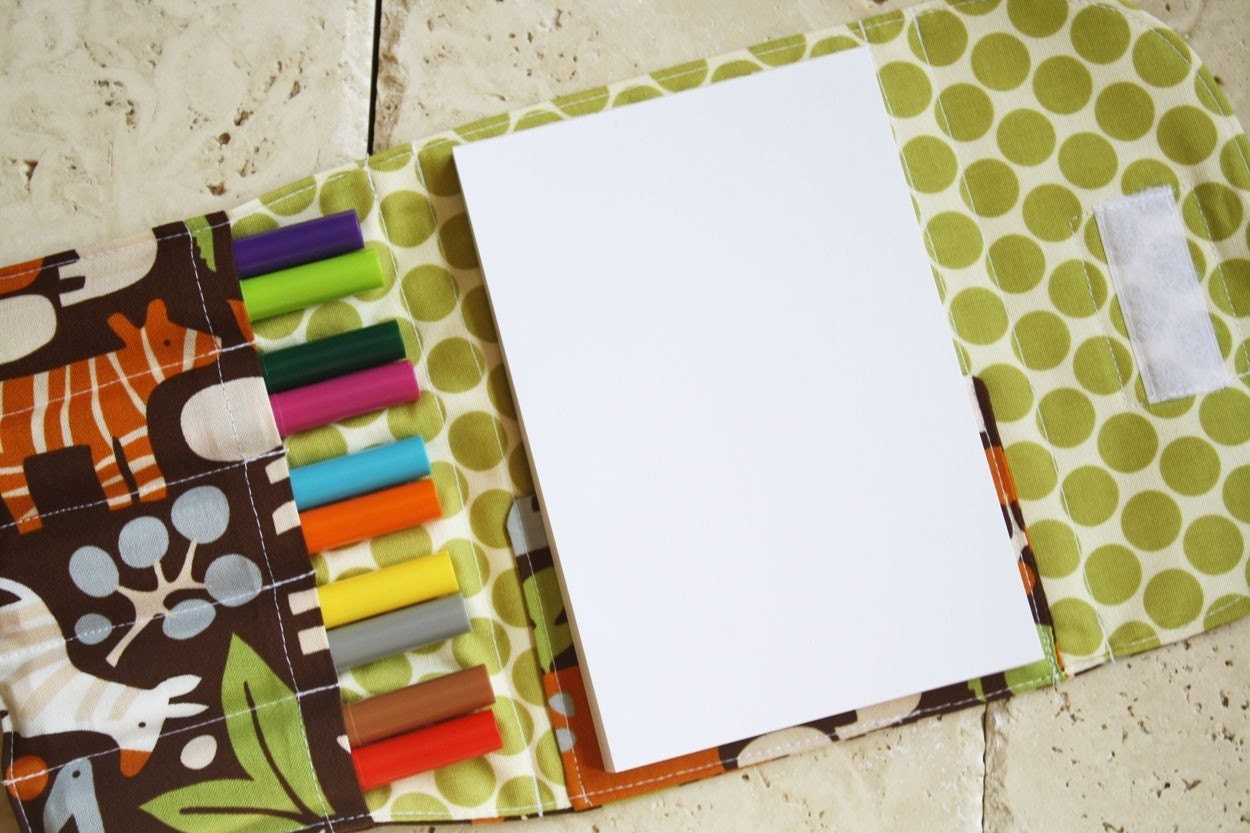
Here's mine. I see a few places where I will do things differently, next time, but I'm happy with the result. I like Dilly Baby's "tightness" within the pack. I think I might have added too many inches to mine. Again, I'll reconsider that and some other things next time.
During cutting of fabric, I cut the larger pieces at 24 inches by 13 inches. Then, mapped out where I wanted the crayons and the coloring book. I had enough space to add a little space for a pencil to the right of the coloring book.
I wish that I wouldn't have had such a wide space between the crayon tops and the coloring book, but on the other hand, the full space allows the coloring book to be opened up on top of it. So, it's almost like this can be a portable coloring desk...
It folds up and then is closed securely with velcro. In the end it looks kind of like a little binder or Trapper Keeper for crayons and markers.
For the front, I cut out an M for the name of my niece and stitched it on. The stitching shows in the inside too, which I think is nice.
I hope she likes it!
Here's mine. I see a few places where I will do things differently, next time, but I'm happy with the result. I like Dilly Baby's "tightness" within the pack. I think I might have added too many inches to mine. Again, I'll reconsider that and some other things next time.
During cutting of fabric, I cut the larger pieces at 24 inches by 13 inches. Then, mapped out where I wanted the crayons and the coloring book. I had enough space to add a little space for a pencil to the right of the coloring book.
I wish that I wouldn't have had such a wide space between the crayon tops and the coloring book, but on the other hand, the full space allows the coloring book to be opened up on top of it. So, it's almost like this can be a portable coloring desk...
It folds up and then is closed securely with velcro. In the end it looks kind of like a little binder or Trapper Keeper for crayons and markers.
For the front, I cut out an M for the name of my niece and stitched it on. The stitching shows in the inside too, which I think is nice.
I hope she likes it!
Subscribe to:
Posts (Atom)